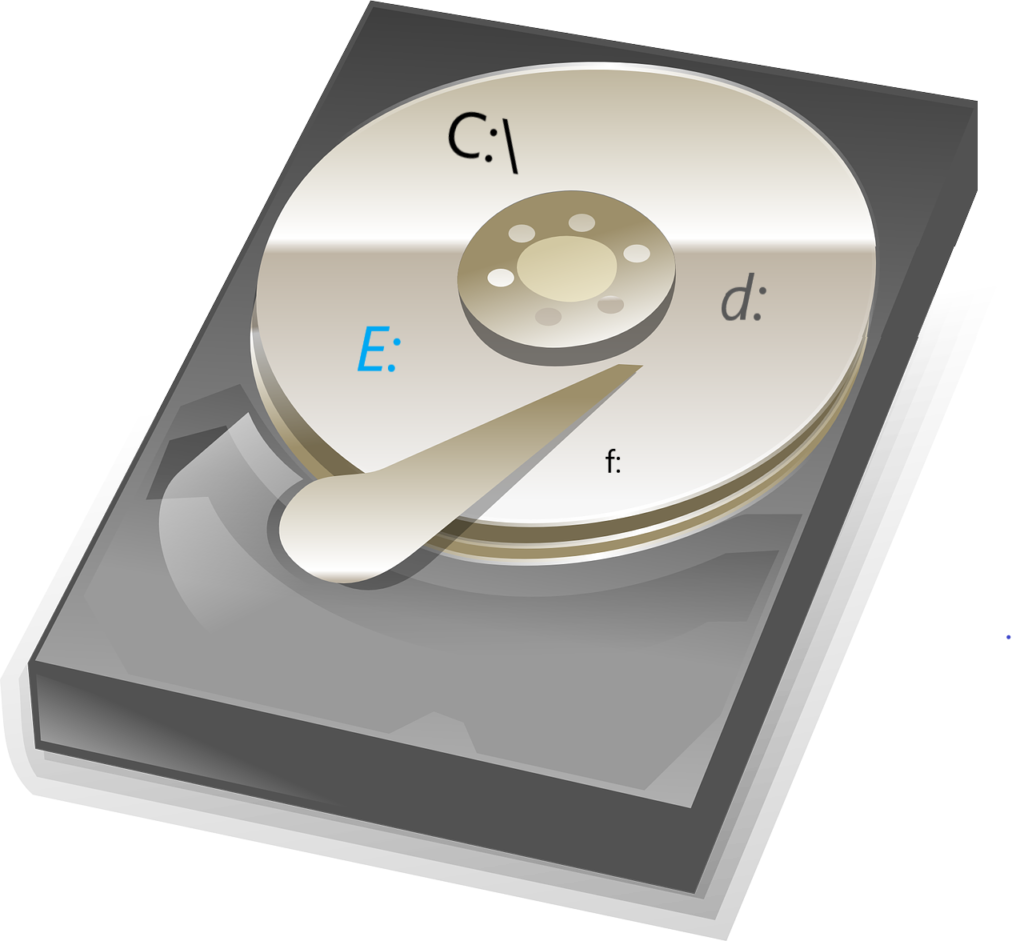
Physical hard drive has to be configured as virtual partitions to store data into separate section. This is a process of dividing your hard drive into small virtual sections where each partition can store its own set of data. It helps to manage data efficiently and also improve system performance.
When you purchase a computer or laptop, it generally comes with a single hard disk drive (HDD) or solid-state drive (SSD) which would be embedded into your computer. The operating system (e.g., Windows, macOS, Linux) is installed on this drive and partition is configured during initial OS installation process. You have privilege to create separate partition post OS installation if you have some unallocated space on the physical drive. We will see the process to make a partition on a hard drive in Windows 11 operating system.

Partition should be assigned with a drive letter (eg. C:, D:, E: etc) or mount point (Linux). You can create one partition for the operating system, another for applications and a third for personal files.
Benefits of Partitioning
- This will reduce the risk of data loss in case of drive corruption.
- It makes it easier to back up.
- You can easily format each partition separately.
- Reinstall Operating System on your system drive without any data loss which are residing in other drives.
Types of Partitions
- Primary Partition: Operating system is installed generally on a Primary Partition. You can configure four primary partitions on a system.
- Extended Partition: It allows you to create multiple logical drives, you can create more than 4 partition on extended partition.
- Logical Partition: Extended partition can be subdivided into smaller logical partition.
Things you should know before You Begin
- Backup Your Data
There might be data loss if it is not handled correctly. You must always back up important data to an external drive. You can restore them back incase something goes wrong.
2. Choosing MBR or GPT Partition
- MBR (Master Boot Record): Best for drives under 2TB with compatibility for older systems.
- GPT (GUID Partition Table): Recommended for newer systems and drives over 2TB.
Step by Step Process to Make a Partition on a Hard Drive in Windows 11
Step 1: Open the Disk Management tool by right-clicking on the Start button and select Disk Management.

Step 2: Select the drive to partition
Step 3: Right-click and choose Shrink Volume.

Step 4: This will start calculating the space which you can shrink.

You cannot shrink a drive more than the system defined space .

Step 5: You will be able to see the shrunk space as “unallocated” space.

Step 6: Right-click on the unallocated space, select New Simple Volume, and follow the prompts.


Step 7: Choose the space of your new drive

Step 8: Assign a drive letter for the partition.

Step 9: Choose a file system (NTFS is recommended for Windows), and format the new partition.

Step 10: Review all details and click on finish to complete the process

Once the Partition is created, you will see a new drive with new partition letter (e.g D:)

Conclusion
A hard drive partition creation is very straight forward process which would help you to organize data efficiently.
You may like to see our other article


